

Compost can be made in a heap on the ground, but it is more efficient and tidier if you use a compost bin. You can get wooden or plastic bins from garden centres, or your local council may sell subsidised ones. A quick internet search for ‘DIY compost bin plans’ will also give you ideas for home made versions.
Composting requires a roughly 50:50 by volume mix of grass, weeds and vegetable peelings (called ‘greens’ in composting speak) which are high in Nitrogen; along with dry paper, straw and card (known as ‘browns’ in composting speak) which are high in Carbon.
Keep a container in the kitchen to collect vegetable peelings and save egg boxes, loo roll inners and other papers to turn into compost. Grass clippings need to be added cautiously and with care – not too many at one time and make sure they’re always mixed in with paper stuff.
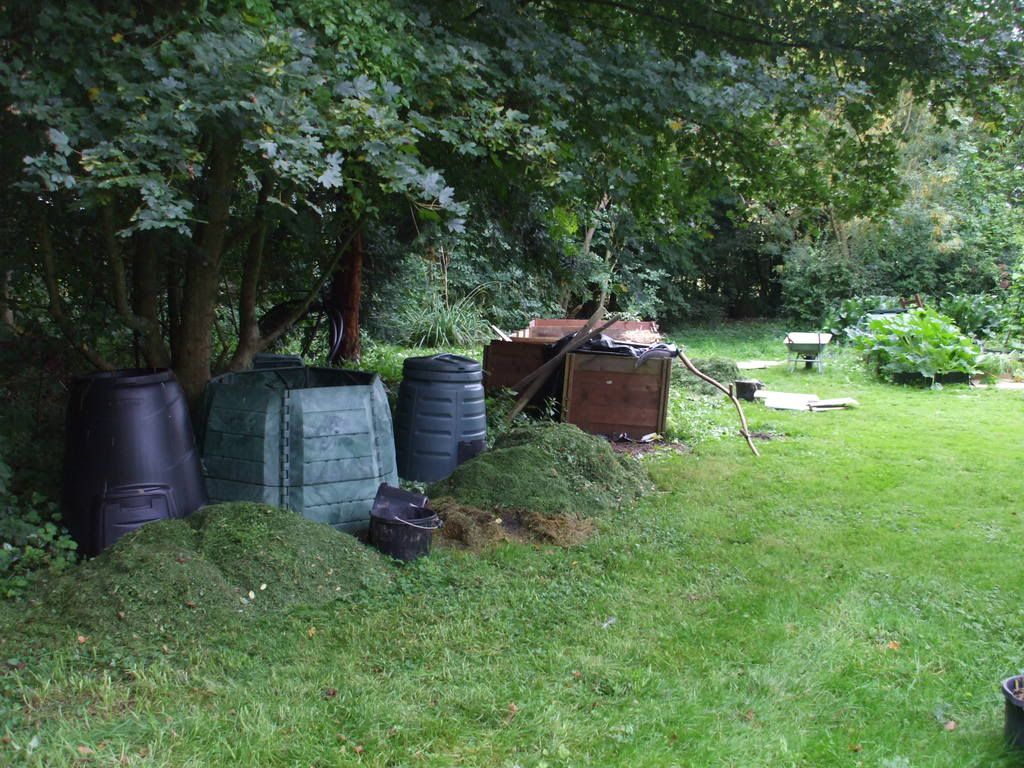
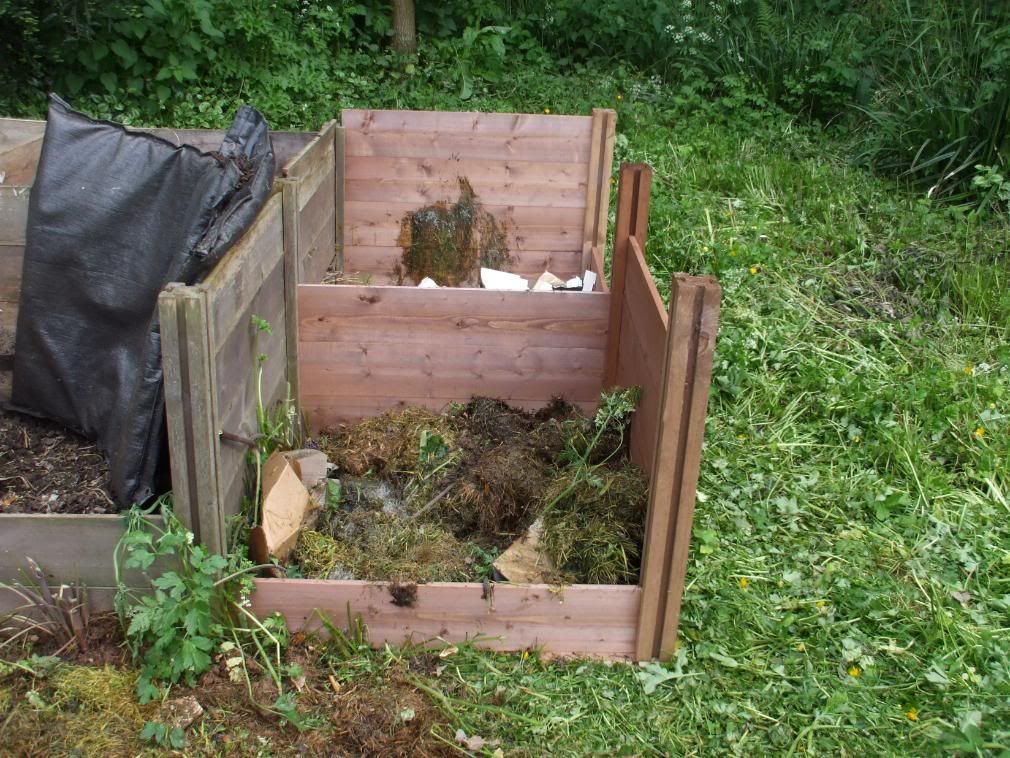
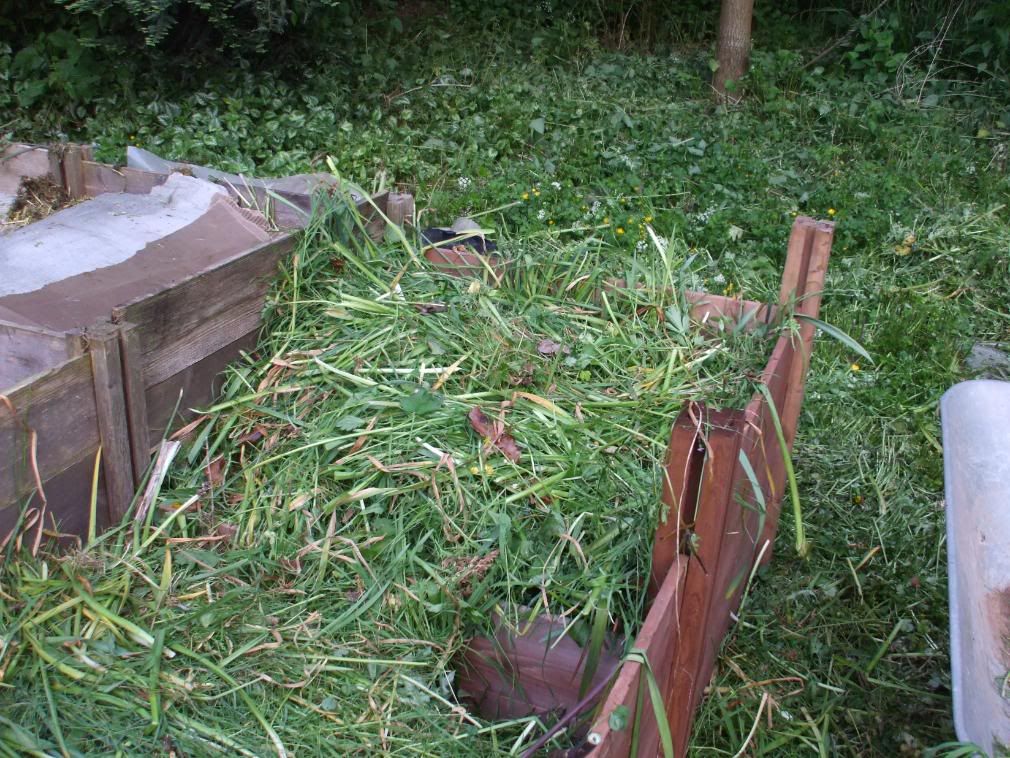
As you can see from my photos, I use a variety of different bins and have made compost heaps in the past. Bins are good as they allow the material to be contained in one place, and I can also vary the contents to produce different sorts of compost. I have bins which are just grass and card, bins which are slower working and bins which are making very fast, fairly coarse compost for mulching. BUT I have lots of space and a professional interest in compost! (and am a touch obsessed about compost, I grant you.....)
BUT it doesn't really matter what you make compost in! As long as there is air, water and the right mix of compostable material it will produce compost ...eventually
.JPG)
Getting started
Choose a garden spot where it’s not too sunny but not too shady. Make sure it’s somewhere you can easily add material to the bin and the finished compost can be easily removed. Put the bin on the soil if you can as it yields better results, however your compost bin will still work on concrete. Try to build up a good collection of ‘green’ and ‘brown’ material before starting.
Put a layer of small twigs in the bottom to make an air gap, then add a mix of torn paper and card bits along with peelings and grass clippings. Other green material could be used instead of grass. but make sure you don’t add cooked food waste as it can attract vermin. Then add a layer of damp cardboard bits on the top.
Keep repeating the layers of green stuff (nettles/comfrey/weeds/grass) and brown stuff (card/paper) until the bins are full to the brim. The green items contain bacteria which will generate the initial heat that is required by the process. A healthy compost bin is a living ecosystem. By keeping a good mix of green and brown material you will provide the perfect conditions for a variety of fungi, insects and bacteria and can let them get on with all the hard work for you.
‘Hot’ composting method
Within a few days, especially in the summer, the material in the bin will get hot – maybe upwards of 60 degrees due to fast-acting heat generating microbes. When it begins to cool down, ‘turning’ the heap can speed things up again. Remove everything from the container and mix the contents up, trying to get the outside to the inside. Add water if it is dry, or dry material if it is soggy. Replace the mixture in the bin and add more material when available. The contents should heat up again; the new supply of air allows the microbes to continue with their work. This ‘turning’ can be done several more times, but when the material no longer heats up again, leave it undisturbed to finish composting. A ‘hot’ composting bin should kill most weed seeds present.
‘Cool’ composting method
If you don’t have a lot of material to add to the bin at any one time, don’t worry as it will still produce compost. Adding small quantities of material over a longer period of time without ‘turning’ works just as well but takes longer and may not kill all seeds. When the container is full, stop adding any more as you’ll have to either just leave it to finish composting, which could take up to a year, or turn it to get more air in and make the heat-generating microbes start to work again.
Whichever method you use, make sure that the contents of the bin are moist and add water as necessary. A sign that it is too dry are ants in the mixture. If it’s too wet, just cover to keep off the rain or use the lid provided.
If this process is done correctly you don't actually NEED to do any digging out and mixing up (referred to as "turning" in compost speak) to get good compost. The turning process is there to get more air in to your compost material to aid the aerobic (air loving) bacteria in doing their job; but IF you have built the bin correctly, there will be air pockets in it still! you can turn it if you like and it WILL speed things up, but it shouldn't be actually required.
Using this method, in spring and summer I can make acceptable compost in 8 weeks or so, but that is quite fast. Finished compost is best left for a month or two to ‘mature’ before it is used, as it is too biologically active to apply to plants straight away. Don’t worry if the compost is not ready and crumbly. Even if it’s lumpy or sticky with bits of twig and eggshell in it, it is still usable and can always be sieved before using.
Obviously, if you have room, more than one bin is a good idea, and you can keep one in use, whilst the other one is full of ‘maturing’ compost.
Happy composting!
Wow! These composting articles are great! I understand the process much better now and, I had never thought of using paper and cardboard. Thanks!
ReplyDeleteHi what sort of paper/cardboard can you use or better which type can't you use? ie can you use shredded paper like old untility bill etc? I'm very new to all this and have just acquired our new allotment so I'm finding your web page invaluable! Thanks!
ReplyDeleteHi there! We have just moved house and have a very very overgrown garden on our hands. We have had to cut a lot of things back as they were obscuring windows/doorways etc - can we start this type of bin now or is it too late in the year? We have the space at the back of the garden and some bits of old shed we could build a bin much like the square wooden ones in your pictures. However the back of the garden is rather shady.
ReplyDeleteThe material we have - lots of paper and card (moving house!) and a lot of plant material, some of it is rather woody rather than green though.
Hello, I have access to large amounts of shredded documents from my business. Would you ever consider using this type of shredded paper with ink? Thanks in advance and I'm so happy I found your blog. Barbara
ReplyDeleteHI there
DeleteYes shredded paper is fine - don't use too much in one go though. Most inks are veg based now so the ink should not be a problem.
if you can use it as chicken bedding first so much the better as the chicken droppings will give the paper added oomph!
I'm taking note. I keep the chooks at home so I need to get their straw to the lottie and get some new compost bins made as the ones there have collapsed. I find it quite funny that all the lottie people go and buy their compost, it just doesn't make sense to me. I am extremely frugal though ;)
ReplyDeleteThis blog is super helpful, especially for those wanting to be frugal, yes! But having to wait 8 weeks isn't always ideal, neither is it ideal for those looking for compost on a larger scale. Companies like coastaluk.co.uk can be great such situations.They create more than 35,000 tonnes of compost a year to produce an organic soil conditioner for farmland and fields as an eco friendly alternative to that nasty sewage sludge or chemical fertilisers.
ReplyDelete